Hi, you will learn how to make an assembly in Inventor.
First you have to make a table leg. Here are some pictures to show you one way to do that.
Every day is leg day for table manufacturers.
OK, legs get started.
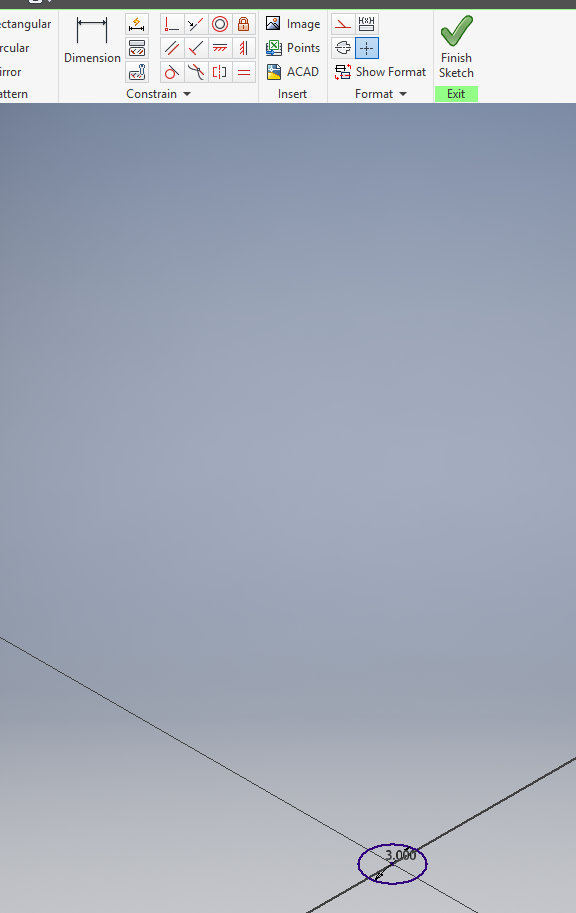
1: Make a circle (I used 3 inches circumference).
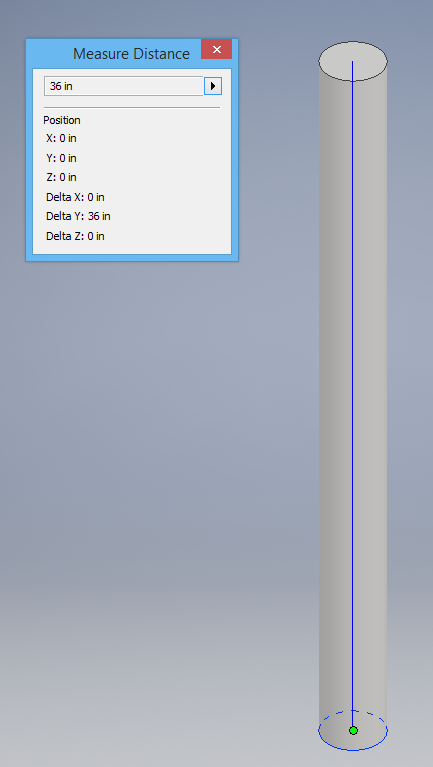
2. Extrude it to 36 inches. (yes, it’s a low table, want a higher one? Extrude yours to have longer legs).
3. Use the draft tool to change the straight leg to have a wider top. I used 4 degrees, but go ahead and experiment.
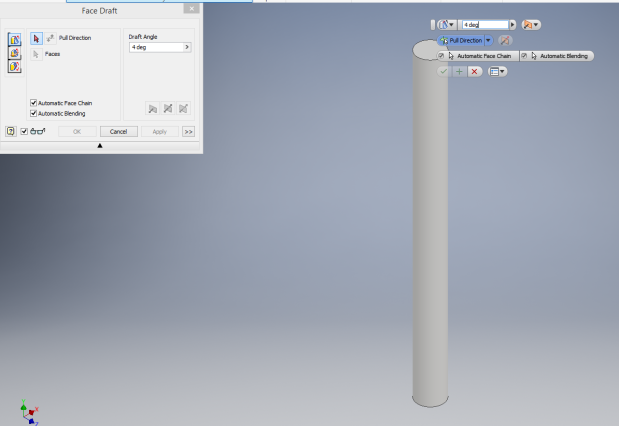
Try clicking on set direction and click twice on the bottom circle.

If you don’t end with something like this (above) keep trying ’till you do.
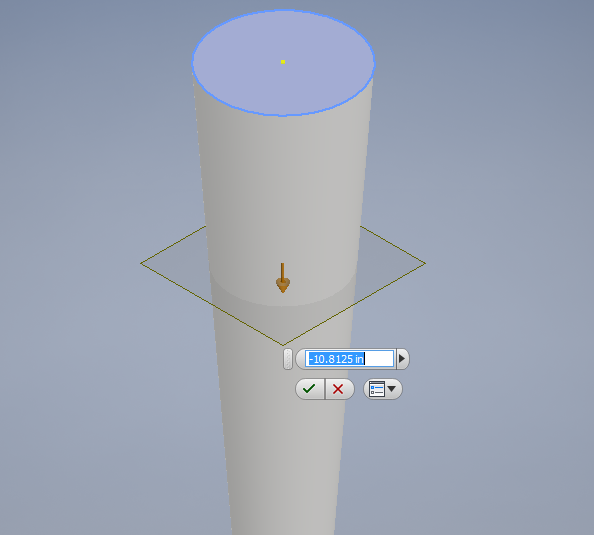
4. Click plane and offset plane.
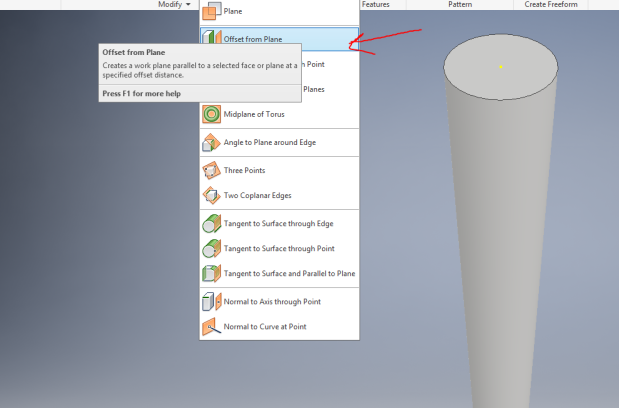
5. Bring it down the leg.
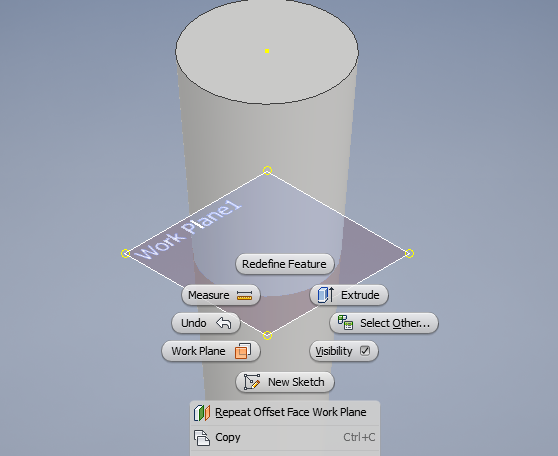
6. Right click on the new plane and choose new sketch.
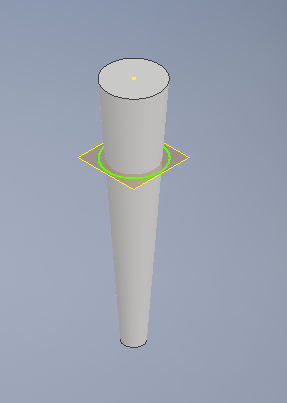
7. Draw your circle on the new plane. Experiment with sizes, always a bit bigger than the shaft of the leg at that point on the plane.
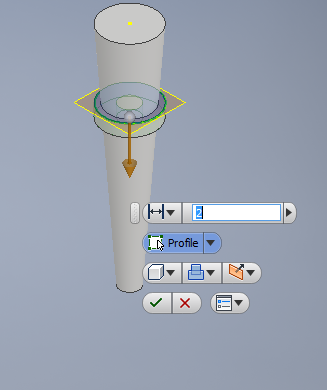
8. Extrude the circle down 2 inches.
9. Make a new circle on another offset plane.
10. Extrude it down like the other one.

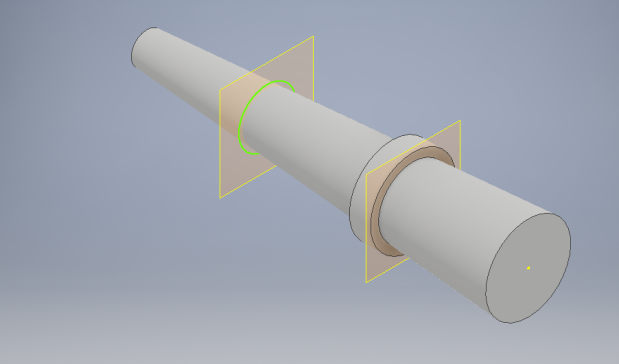
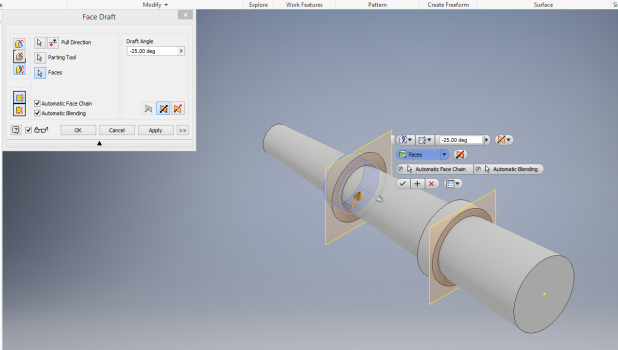
11. Draft 25 degrees choose faces and click on the edge of the circle.
12. Do the same steps and after some filleting end up with something like this:
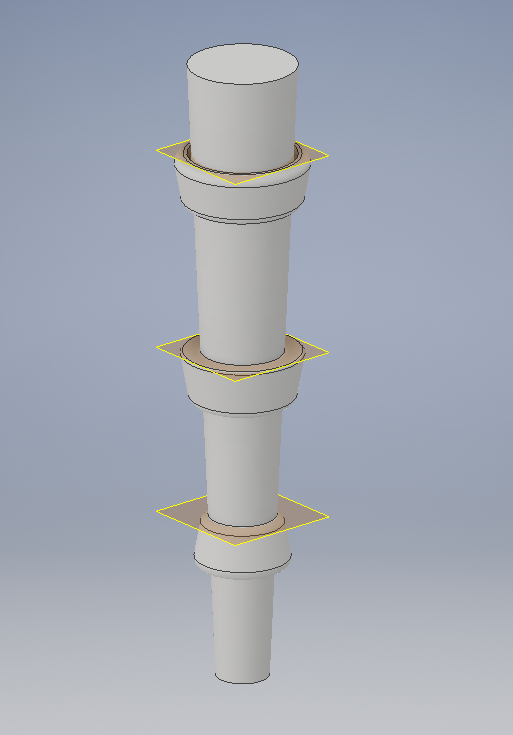
That’s all done with drafting the extruded circles. Save it as fancy table leg (or something like that).
Let’s not Table the discussion
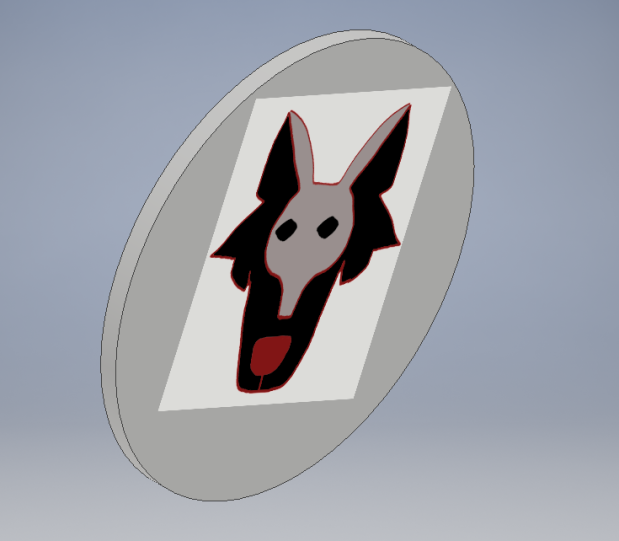
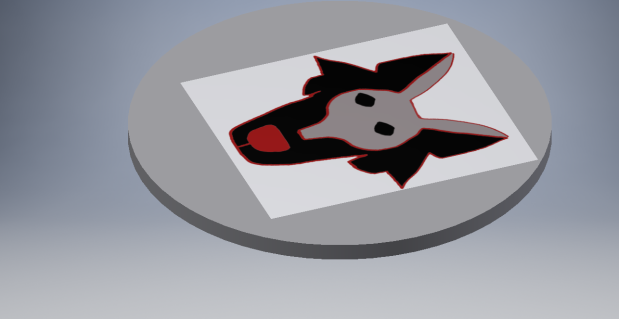
I:Make a table top at least 3 inches thick, square, rectangular or circular (your choice). Make it a good size for the legs. {How to make a cooler table? Draw a picture in photoshop and save it as a .png. Then use the decal command to put it on the table top.}
II:Make a 2d sketch on the bottom of you table and make four circles where the legs will go. Use Extrude in to the table to make them in to small indents (holes).

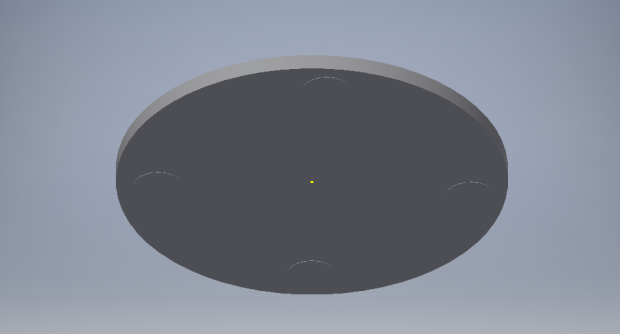
Save your table top as tabletop (or something like that).
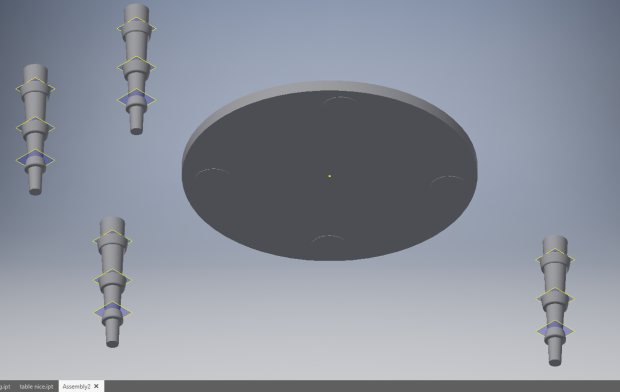
III: Make a new assembly.
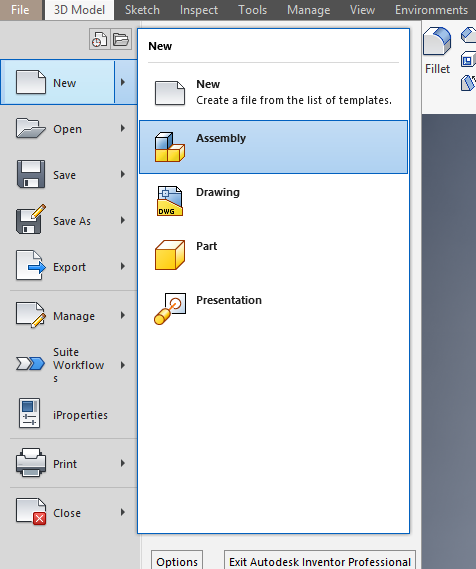
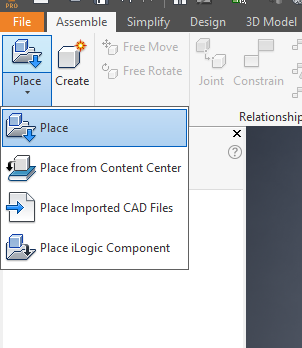
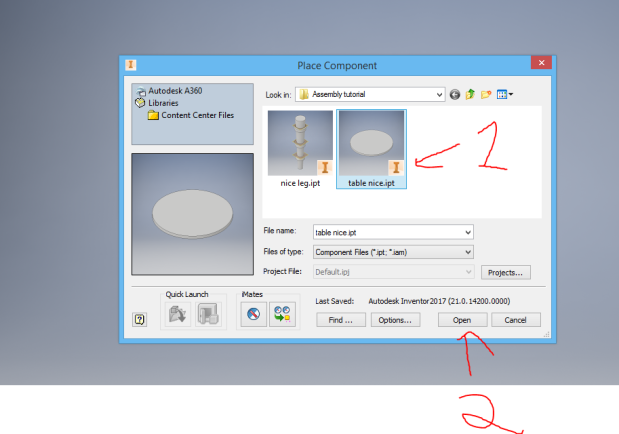
IV: choose place and choose your table top.
V: Click once somewhere in the assembly and your table top will appear there. Then press escape.
VI: Flip the table over so you can see the indents you made in the bottom.
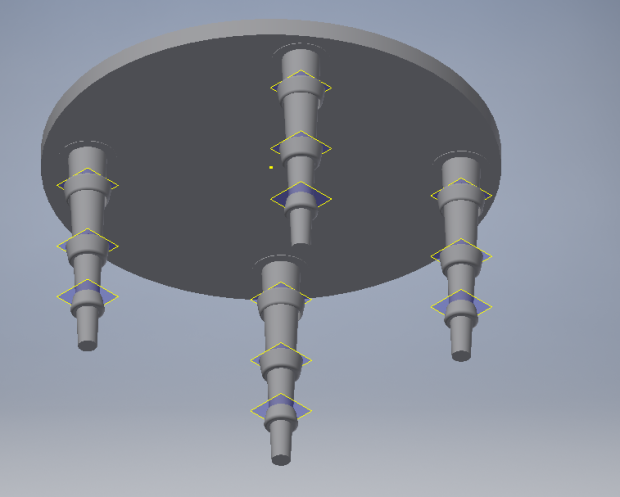
VII: Following the steps you did to place your table, place your leg four times and then press escape.
VIII: Choose Constraint and then choose insert.
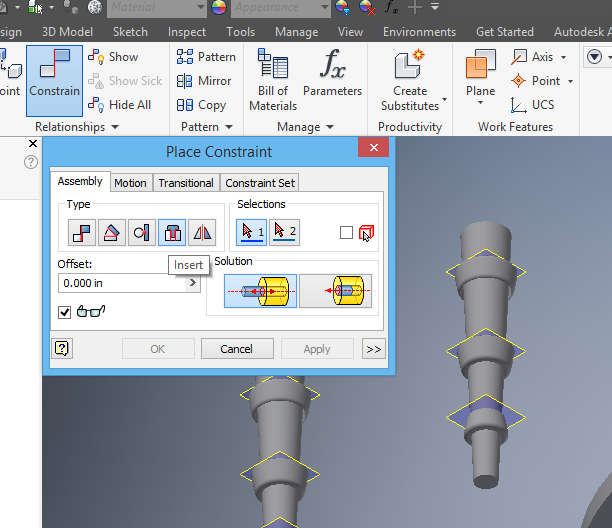
IX: Click the top of one of the legs.
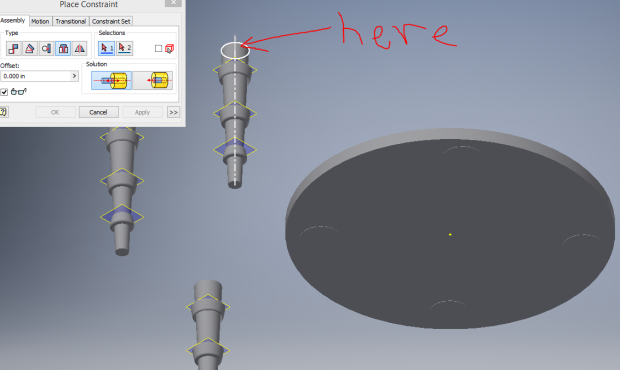
X: Click one of the indents and the leg will click in to place.
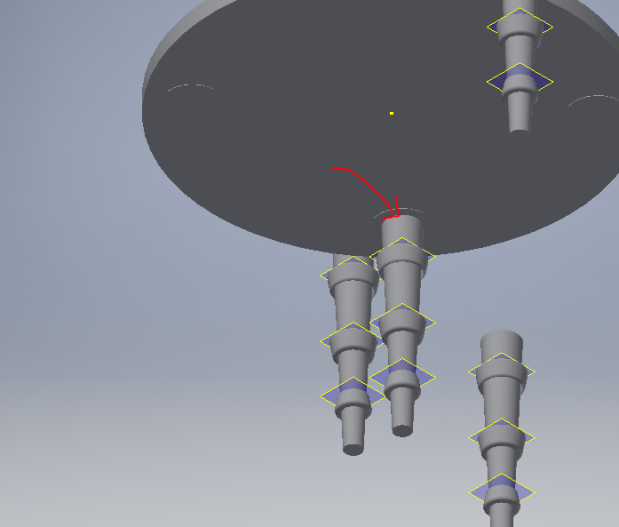
XI: Repeat the steps until all the legs are in. (Hint, you can press ok, then click on insert and choose another leg, then click on the indent and repeat…)
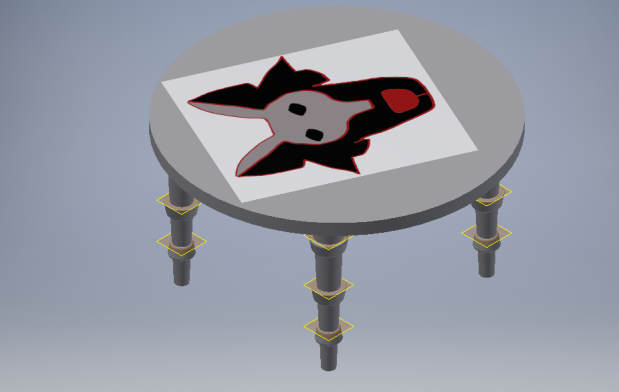
All done, but the saving. So save it as yourname table assembled.


You must be logged in to post a comment.