
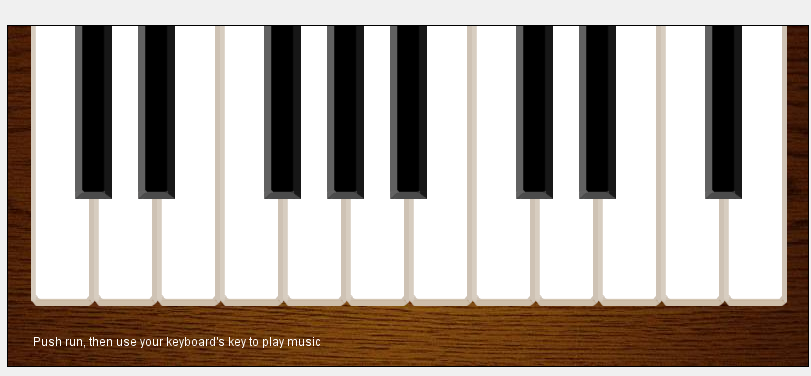
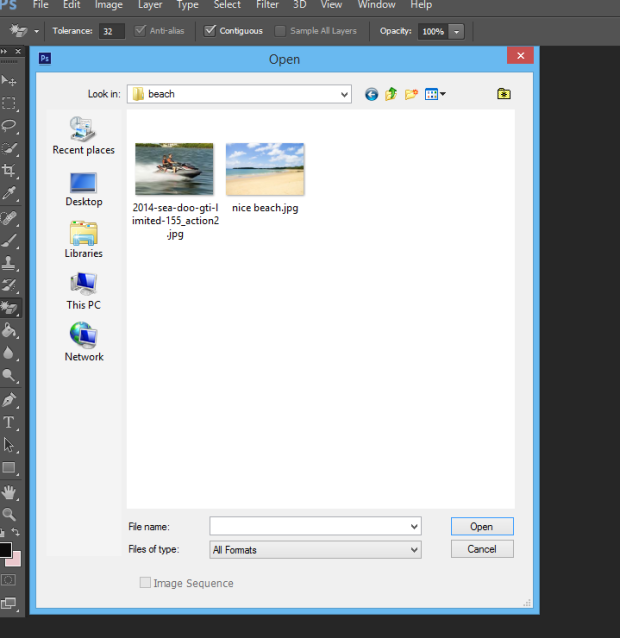
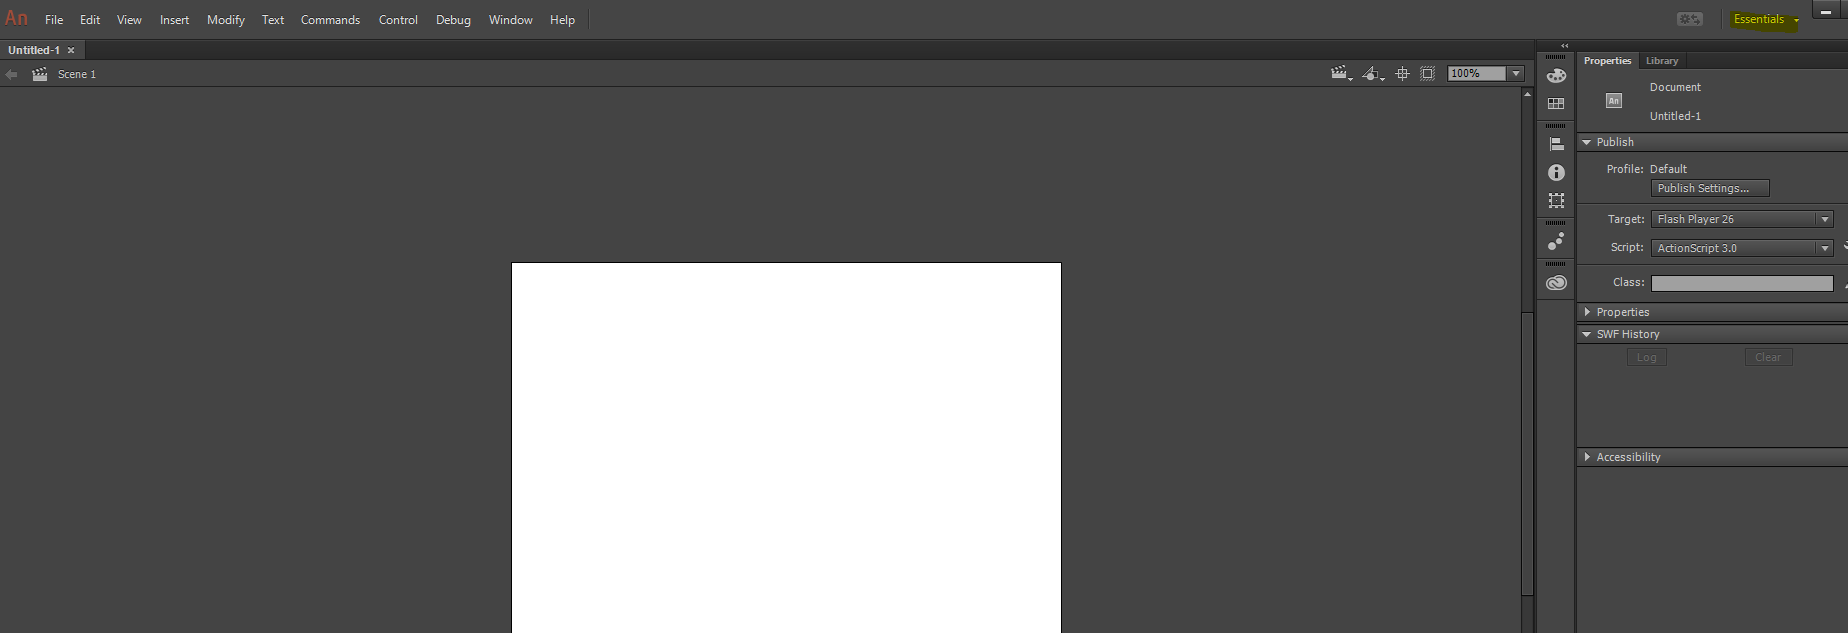
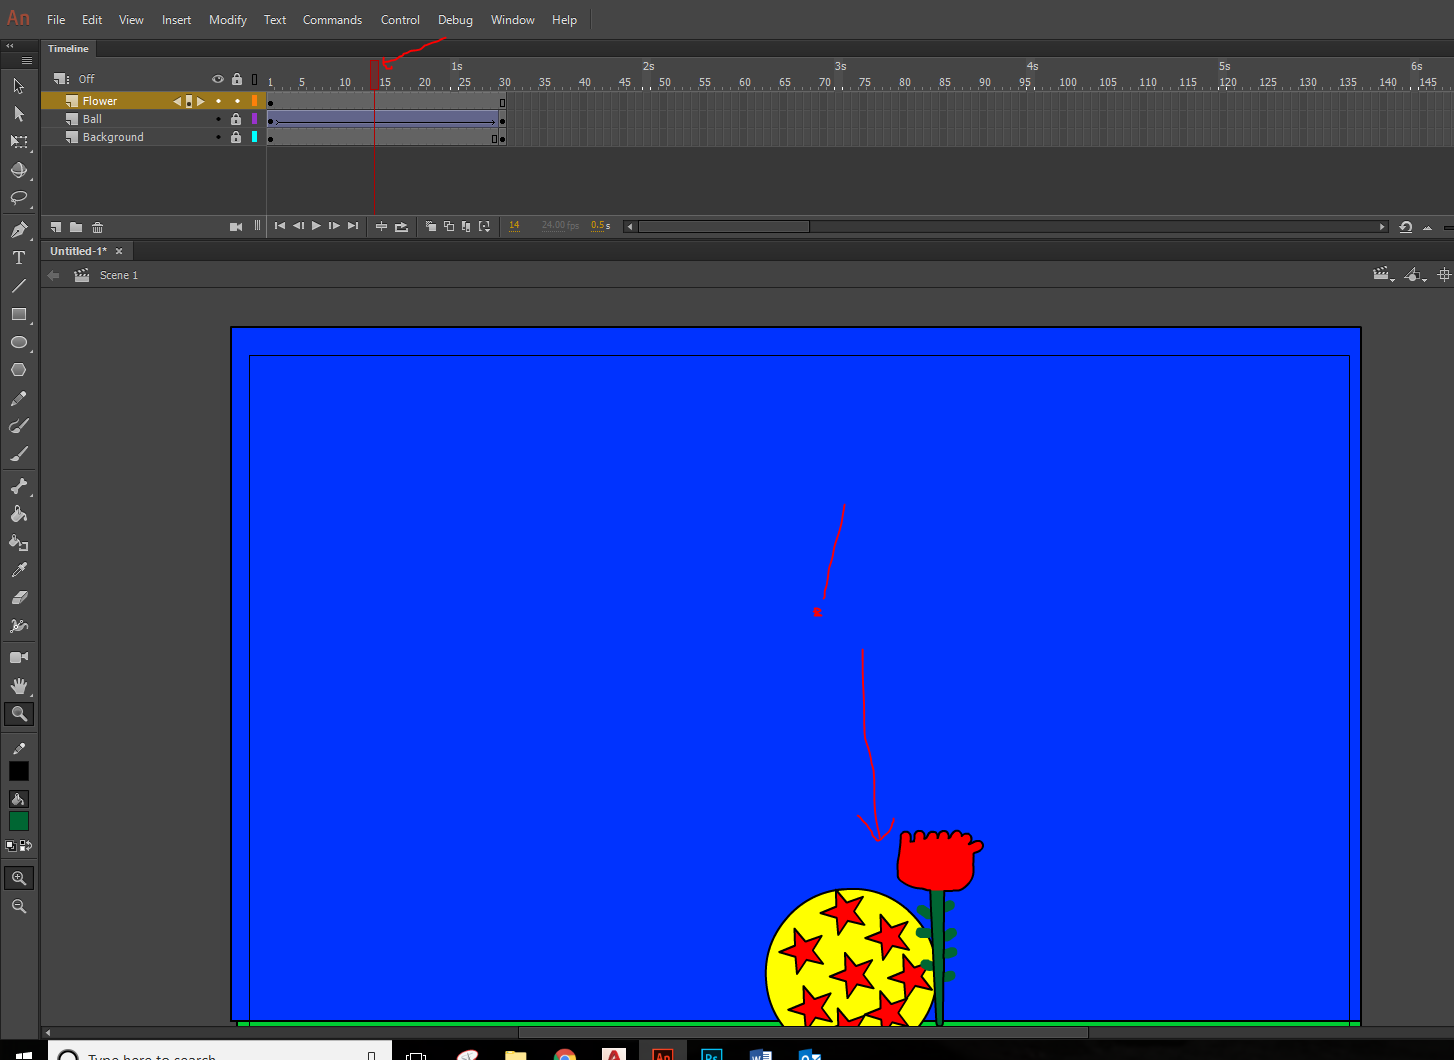
Now we are going to start a new project, a piano that you can play with the computers keyboard. Start by opening the scenario called piano-1 from the Handout folder.
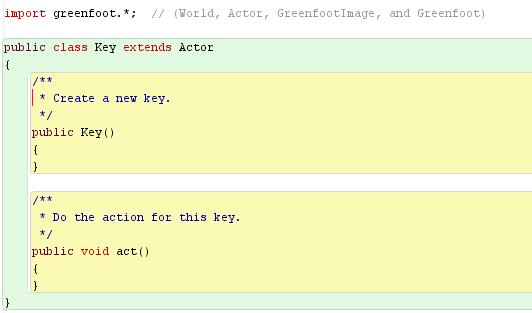
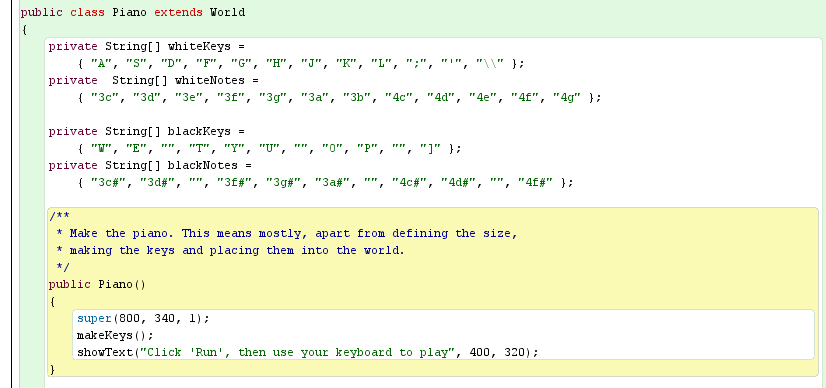
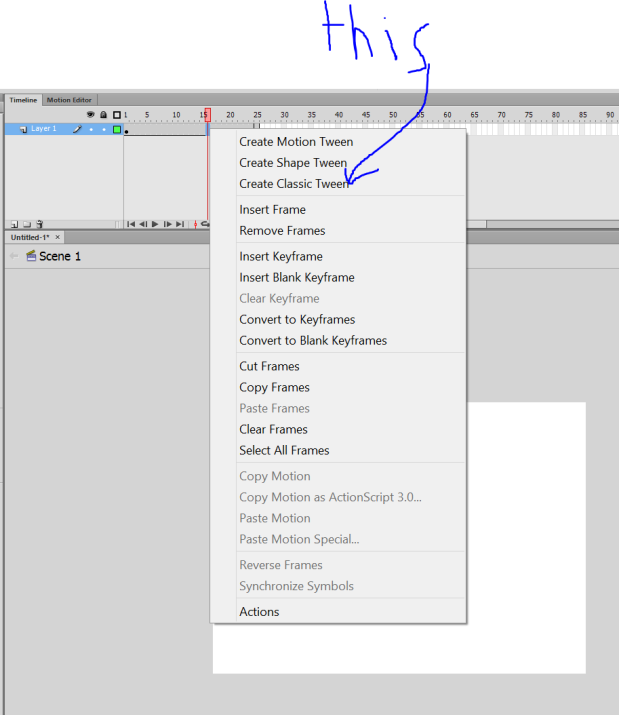
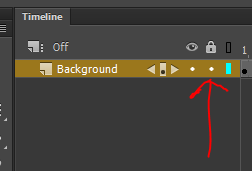
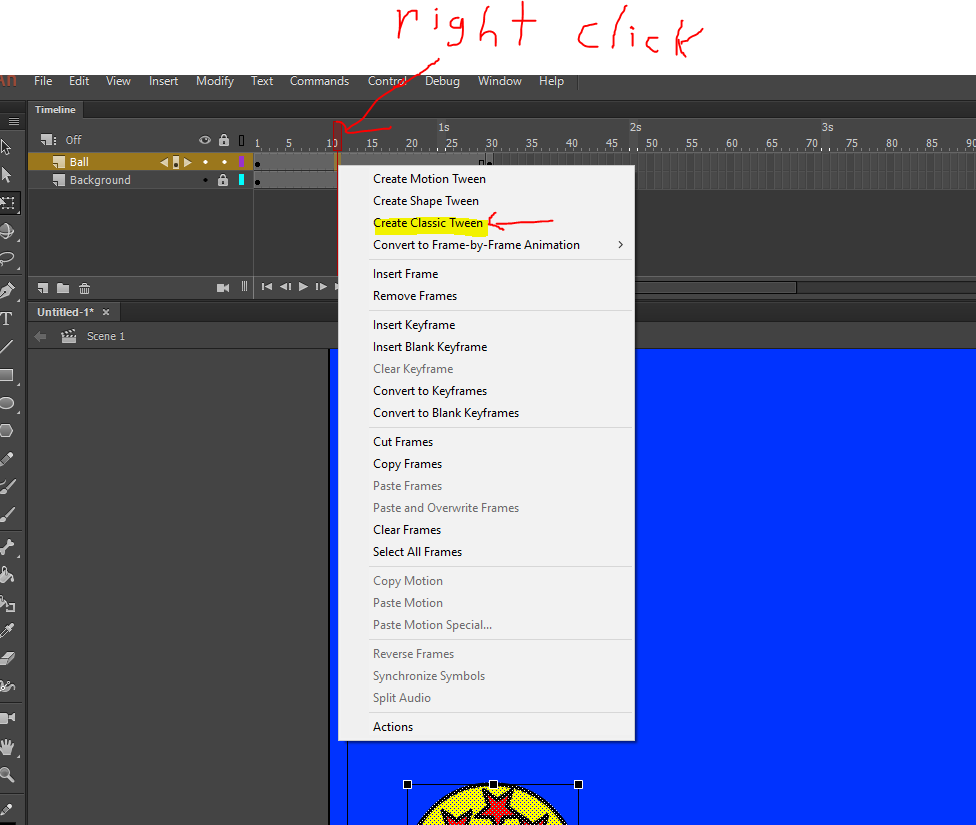
5.1 Do This: Open the scenario piano-1 and look at the code that is already there for the two classes that already exist, Piano and Key. Explain the code that is already there and what it does.
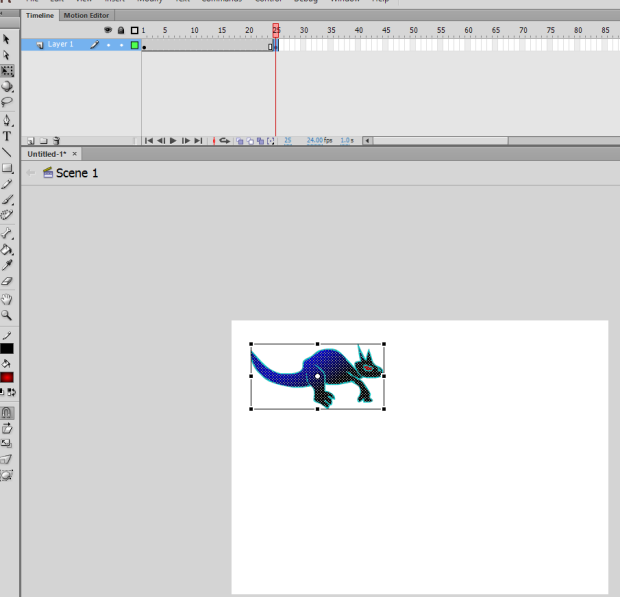
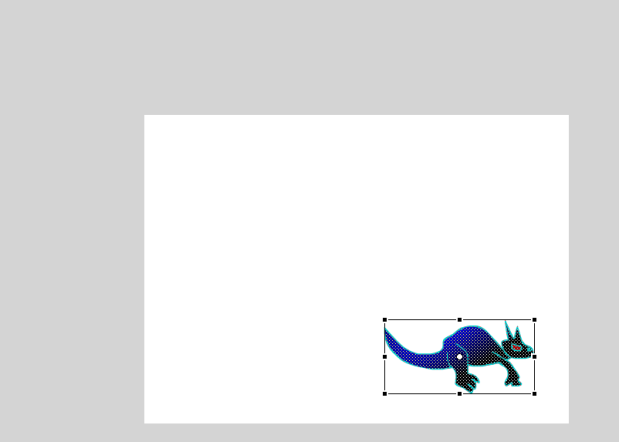
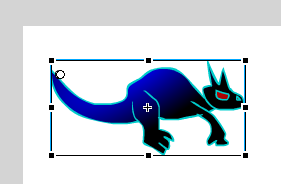
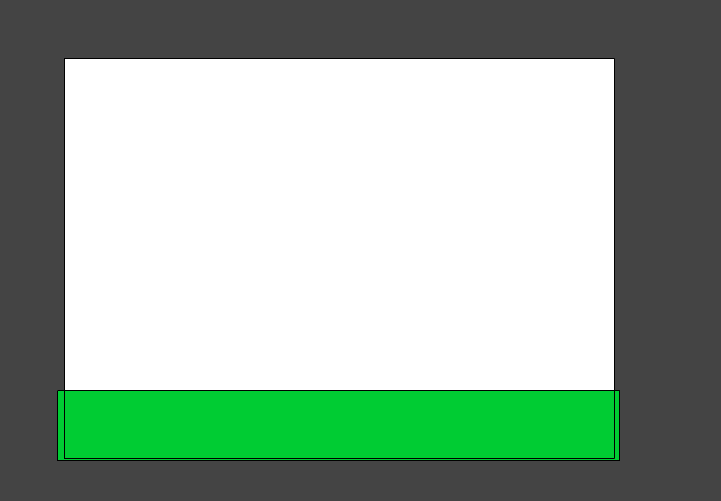
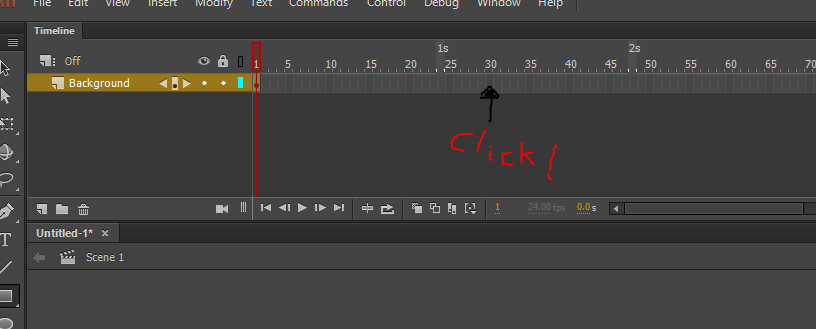
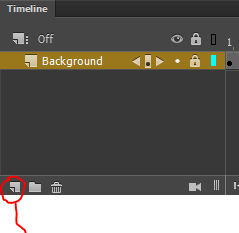
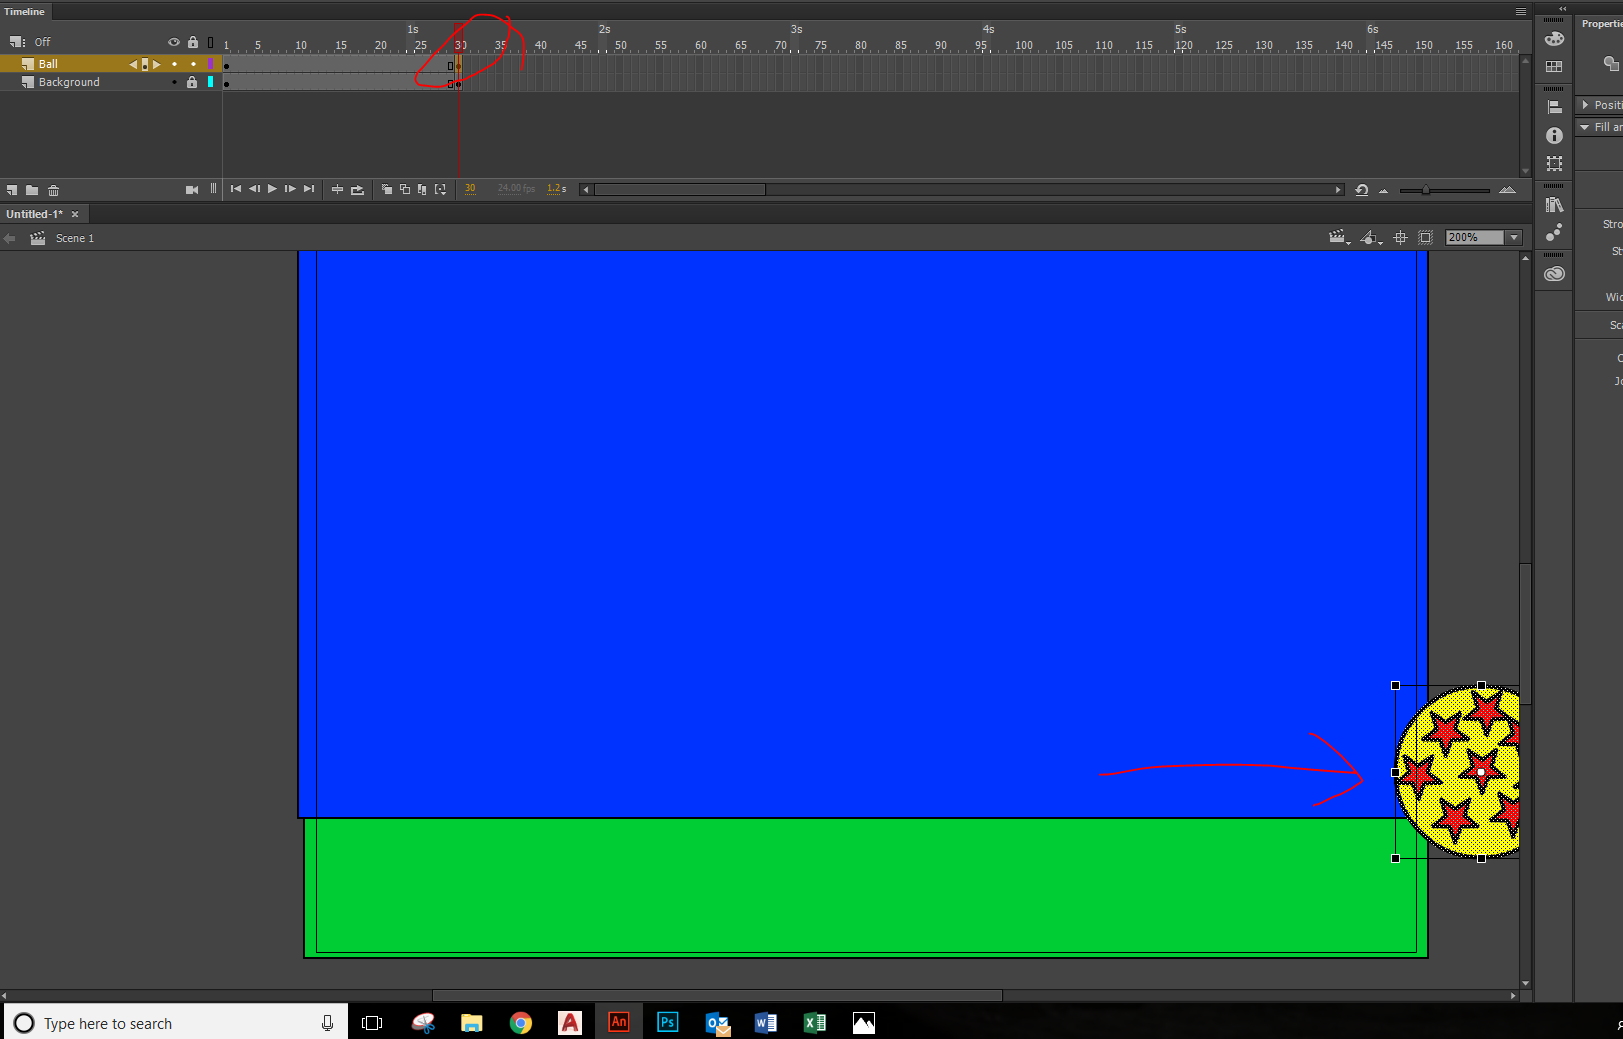
5.2 Do This: Create an object of class Key and put it in the world. Make a few of them and place them all next to each other.
ANIMATION IS KEY (FOR THE KEYS)
If you looked at the code, you know that there is not much there, the Piano class only has the size and resolution of the world, and the key class only has method stubs ( an empty method) for the act and the constructor method.
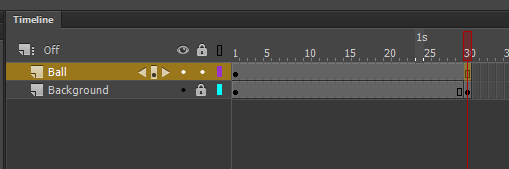
You can start experimenting by placing down an object of class Key in the world and then running the scenario. It doesn’t do anything yet. The first task is to animate the piano key, when a key is pressed on the keyboard, we want the key object in the world to change so it looks like it’s pressed down. The scenario already has two images files, one is called white-key.png and the other is called white-key-down.png. Those are the two states that we want to show. The white-key.png is the image that is set to default for class Key.
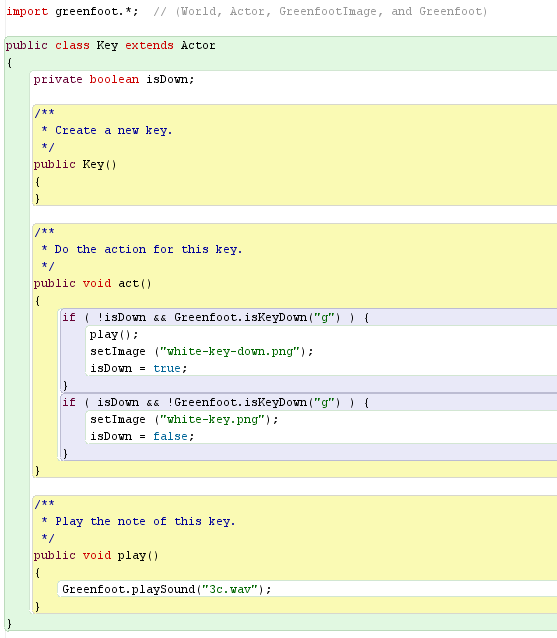
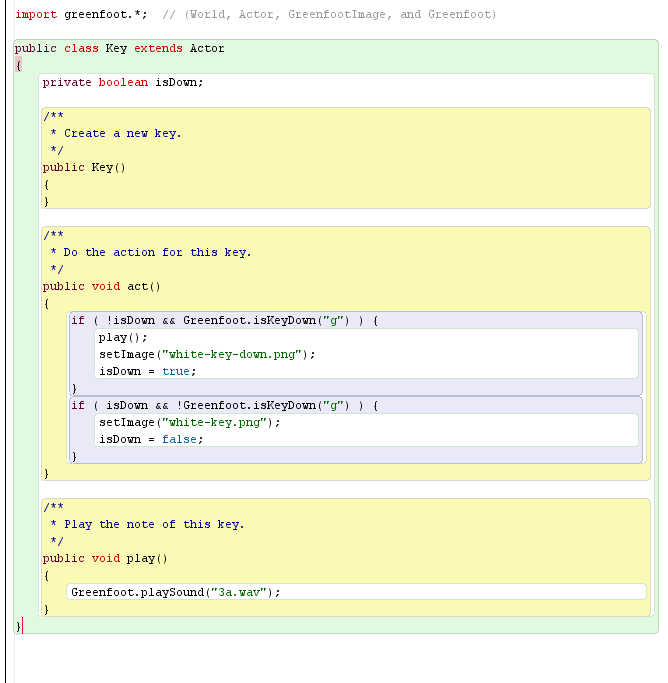
Since we already sort of know how to do this when we animated our crabs walking, we should be able to do this pretty easily. You just need code that will switch the image to the white-key-down.png when the right key on the computer keyboard is pressed. Take a look at this code:
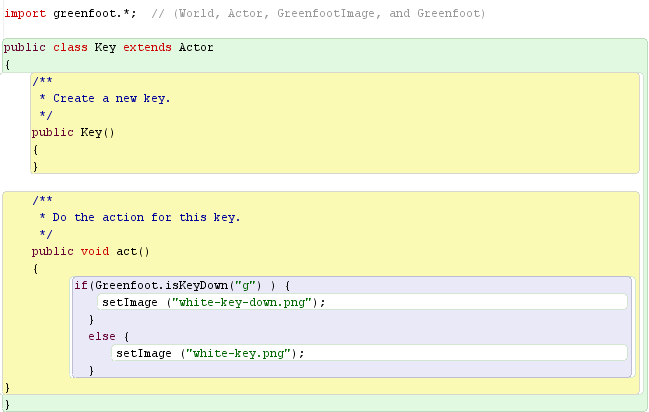
For this example we choose a letter more or less at random, (the “g” key) to get the key object to react to. Later on we will choose keys on the computer keyboard with thought and purpose, right now we just want to get the code right. When g is pressed the musical keyboard key switches to the picture of it down. When the key is not pressed, the musical keyboard key goes to the up position.
5.3 Do This: Put this version of the code in to your own act method. Test it, be sure that it works.

While this code does work, there is a problem. The image is not set only once as it is changed but all the time. Every time that the act method executes, the image is set again to one of the two images even though it might be on the correct image anyhow. Looking at the code, you can see that even if the “g” key is not being pressed, the image will be reset to white-key.png although it is already showing that image.
Why is this a big problem? Setting the image to itself is definitely unnecessary, but doesn’t seem incorrect. There are a few reasons why we have to fix this though. One is that it is bad programming practice to waste your computers CPU resources doing unnecessary work. A more important reason is that when we add sound it will make a big difference if the sound of the key is heard once or over and over again.
Therefore, lets make the code better so that the image is set only when it actually changes. We will use a boolean field that we add to the class to remember if the class is actually down at the moment. let’s call that field isDown and the declaration is below:
private boolean isDown;
If the key is down, then the value stored in isDown will be true, and if the key is not, the value stored in isDown will be false.
5.4 A Do this: You will have to add private boolean isDown; to the Key class in the right spot, if you don’t remember where it should go, then just check out your Crab class. Look for where the other variables are declared like: private int wormsEaten; in the Crab class. Put private boolean isDown; in the correct spot in Key.
This lets us check if the keyboard key has just now been pressed. You see if the isDown field is false but the “g” key is being pushed on the keyboard it must have just been pressed a second ago. But if the isDown field is true, but the “g” key is not down, then it must have been just released. In those two situations, we will change the image.
CODERS GOTTA CODE
The code below what the act method should look like:
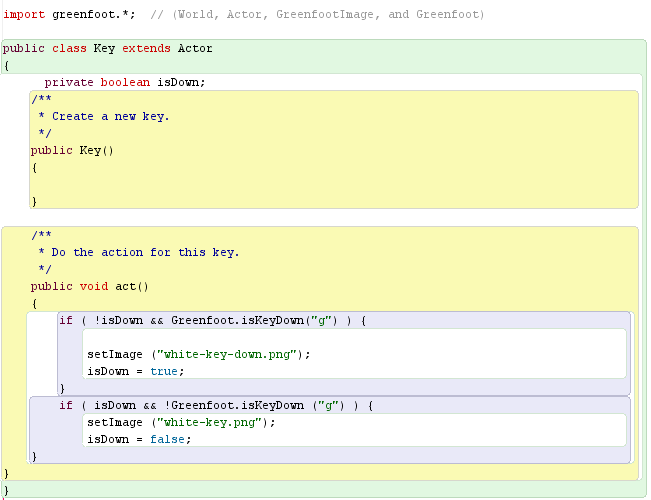
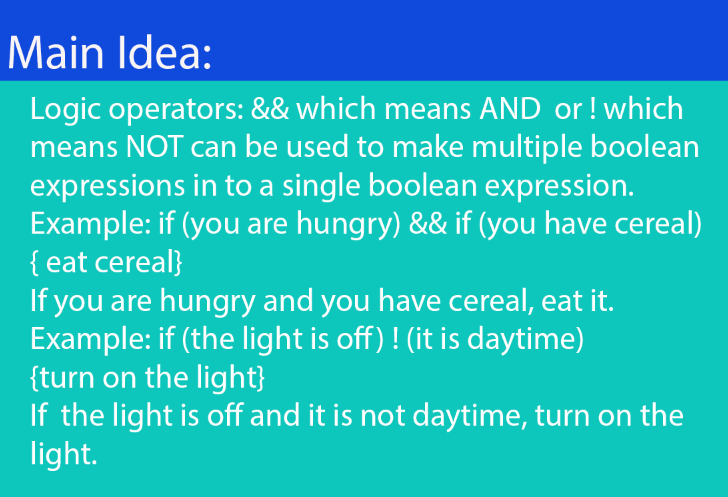
In both cases we make sure that the isDown field is set to a new state if detect a change. The code also has two new symbols: && the double ampersand, and ! the exclamation mark. Both of these symbols are logical operators. The && double ampersand means AND and the ! exclamation mark means NOT.
So looking at:
if (!isDown && Greenfoot.isKeyDown(“g”) ) {
setImage (“white-key-down.png”);
isDown = true;
you can read it as (and this will not be Java code) as
if ( (not isDown) and Greenfoot.isKeyDown(“g”))…
or (again not java code)
if (the piano key is not currently down and the the keyboard key is down) {
change the image to show the “down” image;
remember that the piano key is down now;
}
5.5 UNDERSTAND THIS: Read over the Code at CODERS GOTTA CODE ( see above) and make sure you understand what it is saying. Write a English translation of the code in your notes. Then add the code in the act section of class Key.
SOUNDING IT OUT!
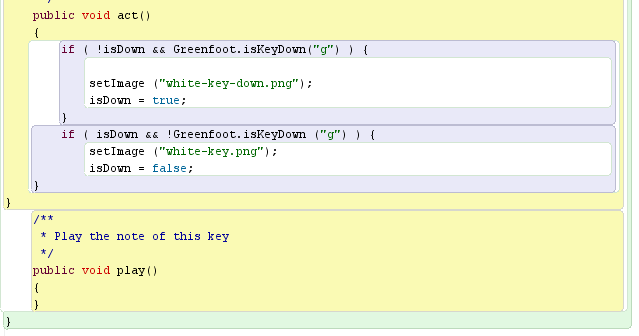
Now we are going to add some sound to the keys. We are going to add a new method to the Key Class called play. It’s going to go underneath the act method. The top part of the method will of course be the comment, signature, and an empty body for the new method.
/**
*Play the note of this key
*/
public void play()
{
}
Here’s what it looks like in your code:
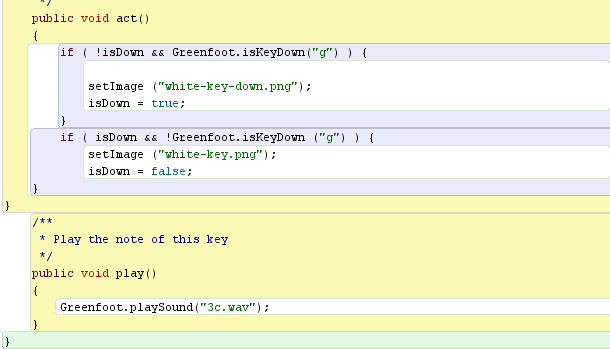
Your code should compile, even if it doesn’t do anything yet, since the method body is empty. What we want this to do is very easy, just play a single sound file. The piano scenario has a collection of sound files in the sounds folder. Every one of the files has the sound of single piano key being struck. They are all named like this 2a.wav, 2b.wav, wc.wav…. etc. Let’s do our test with a random note like 3c.wav (middle C) to play for our test key.
To get this note to play we just use this command from the Greenfoot class:
Greenfoot.playSound(“3c.wav”);
Here is the play method:
/**
*Play the note of this key
*/
public void play()
{
Greenfoot.playSound(“3c.wav”);
}
Here it is in code:
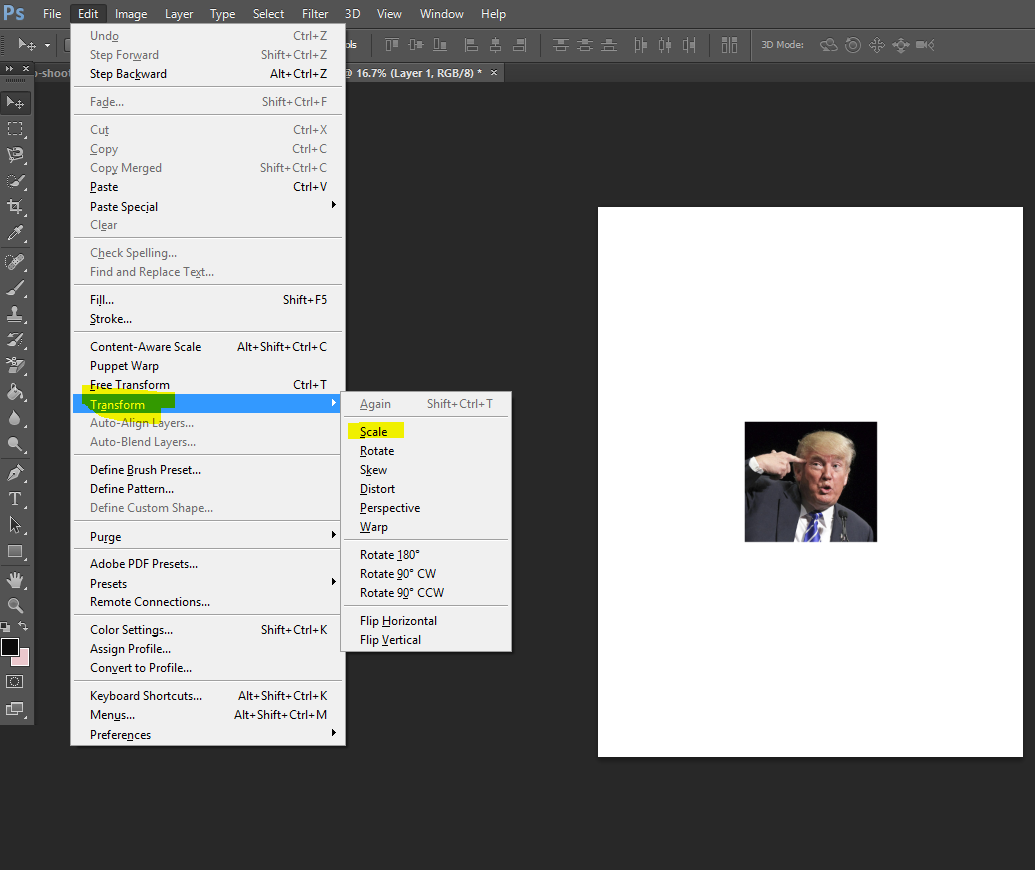
5.6 Try this: Put the play method in your own code. Test it. Screenshot the code.
The next thing to do is play the sound when the keyboard key is pushed. To play the sound programmatically (from inside the program) you just need to call the play method like so:
play();
5.7 Do this: add the code to your Key class so that the key’s note is played when the right keyboard key is pressed, so figure out where the play method should be and put it in place. Test and screenshot.
5.8 Do this: What happens if you make two keys , run the scenario and press the “g” key? What do you think about what we need to do to make the different keys react to different keyboard keys?
Here is a code sample so you can check your work so far.
Check, don’t just copy!
Pictures of eyes are supposed to make people act more honestly…


Did that work?
Anyhow, below is the code so far.
ABSTRACTION: MAKING MULTIPLE KEYS
So far we can create a piano key that will play a single note when we push one key on our keyboard. If we create multiple keys, they all act the same way and make the same sound. We need to fix this.
The problem showed up because we hard-coded the keyboard key name “g” and the sound file name (“3c.wav”) in to our class. We used the names directly, so we can’t change them without changing the source code.
When you are writing a computer program, it is nice to write a program that can do one thing, like find the square root of 3,453 or playing the middle c note, but it is not very useful. It is much better if we write code that can solve a whole class of problems, like finding the square root of any entered number, or playing a whole piano worth of keys. Then the program is a lot more useful.
The way we do this is by using a technique called abstraction. Abstraction is used in many different forms and ways in computers. We are going to change the Key class from one that just places a middle c when the g key is pushed to one that can create objects that play a range of notes when different keyboard keys are pushed. We are going to do this by using two variables, one for the name of the keyboard key and one for the name of the sound file we will play when the key is pushed.
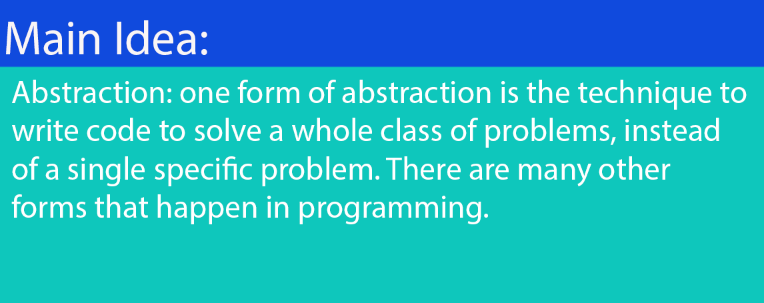
Here is a bit of code to look over: Abstraction Action
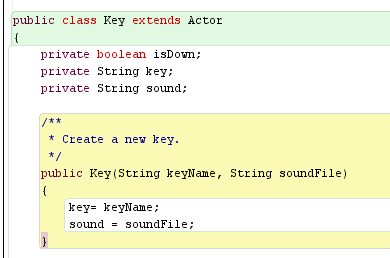
The code above shows that the start of a solution. There are two additional fields, named key and sound, and they are going to store both the name of the key and the sound file we are going to use. We will also need to have added private String key, and private String sound to the top of the key class so those important bits of information can be passed to the key when it is created. They should be right under the private boolean isDown; declaration. We will also made sure that we will store those parameter values in the fields in the constructor body. That means you have to add String keyName, String soundFile to Public Key.
Now we have an abstraction of the Key class. That means everytime we create a new key, we can set the keyboard key to press and also the soundfile to play when that keyboard key is pressed. However, we have not actually written the code that will let us do that.
5.9 DO THIS CODE CHALLENGE!!! Make the changes we talked about above (Abstraction Action) to your own code. This will be in three parts, add fields for the key and the sound file, and add a constructor with two parameters that will initialize those fields (so when we make a new key we will get prompted to give a keyboard key and a soundfile to play when that key is pressed.)
The fields are the parts (String keyname, String soundFile) and the constructor is key= keyName; sound =soundFile;
The third part is changing to the Greenfoot.playSound(sound); in the play method.
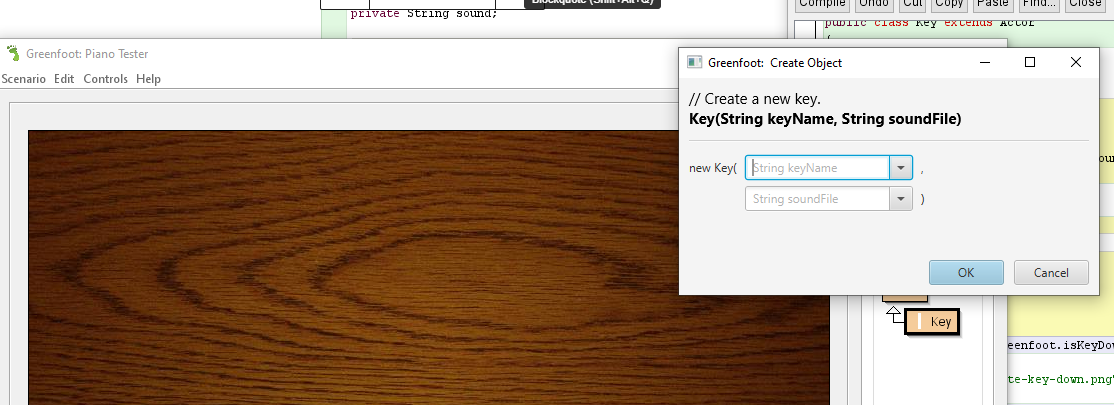
This is what you should see when you create a new key. The top box is looking for a letter from the keyboard like “g”; and the bottom part is looking for a sound file like “3c.wav”;
5.10 DO THIS CODE CHALLENGE!! Change your code to that your key object reacts to the key and plays the right sound file after it is built! (Make at least an octave, that is 8 keys in order i.e. a,b,c,d,e,f,g. )
Try and do this on your own, here are 3 hints you can check out. But you don’t have to actually look at them, you can also try trial and error or logic and reasoning.
HINT #1: Remember that Strings are bits of text. What symbols have to go around a string?
HINT #2: Look at the name of the variables, when you know a name you can ______ someone if you see them far away. THINK ABOUT THAT WORD.
HINT #3 You are not really rewriting any old code, check the example above and figure out how and where to add in the variable names.
You will create 8 keys and take a screenshot of it.
Alright, that was some fun, huh! Now we can create a set of keys and play a range of notes with them. We only have white keys, but you can make half of a piano with those keys. Making all those keys is kind of a pain though, and if we make a change to the source code we have to start all over again with assigning values to the variables. There must be an easier way than this! Well there is, and we are going to use it from now. We will make the computer make some keys for us with code.
BUILDING A PIANO
We want to write some code in the Piano class that will make and place piano keys for us. Adding just one key or even a few keys is pretty easy. If we add this line to the Piano’s constructor then a key will be created and put in to the world everytime we restart the scenario (re-initialize it):
addObject (new Key (“a”, “3a.wav”), 300, 180);
Don’t forget that the expression
new Key (“a”, “3a.wav”)
is making a new Key object with the sound of 3a.wav when you press the “a” key and the statement:
addObject (an object, 300, 180);
will put that object in the world at the coordinates 300,180 (x,y).
You also have to change the code in key so instead of “g” it’s just key.

5.11 Do this: Add code to your Piano class so that it will automatically make a piano key and put it somewhere in the world.
5.12 Do this: Now make the Y coordinate of the key the number that will make the piano key appear exactly at the top of the piano(so the top of the piano key lines up with the top of the piano. Here is a hint, the piano key image is 280 pixels high and 63 pixels wide.
5.13 Do this: Write some code that will make another piano key appear that will play middle g (that’s file 3g.wav) when someone pushes the “f” key on the keyboard. Put this key (automatically) exactly to the left of the first key (no gap, and no overlap).
It should look like this:
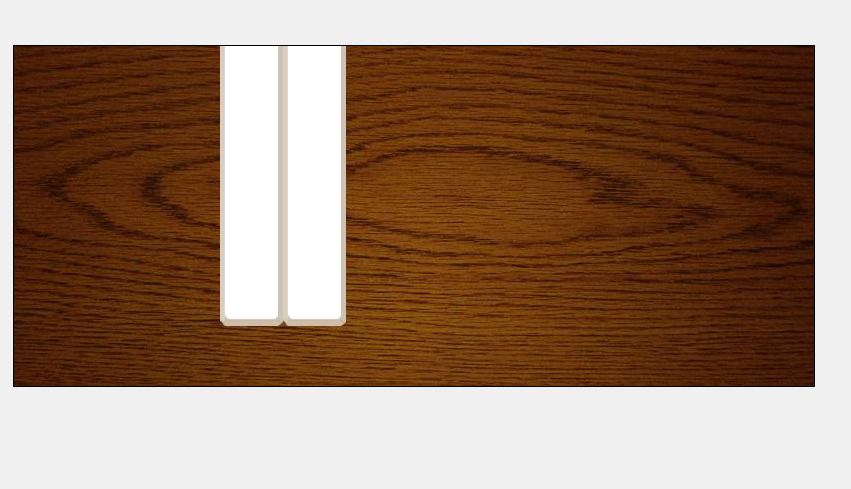
Did you get it? Check your picture against mine. HINT: If you know that something is a certain width, and you want to snuggle it up right beside the first thing, just subtract something from something else….
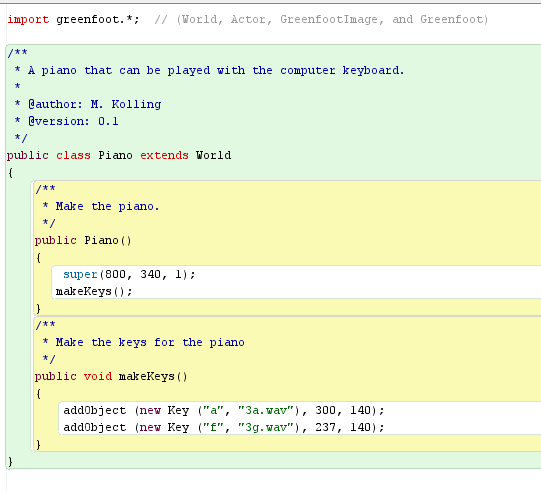
Now you remember when we were working with the Crab and Kraken, that we need to use separate methods for separate tasks to keep things organized nicely. Making all the keys is a different task, so we will put the code for it in a separate method. It won’t do anything different, but it’s a lot easier to read, which makes it better.
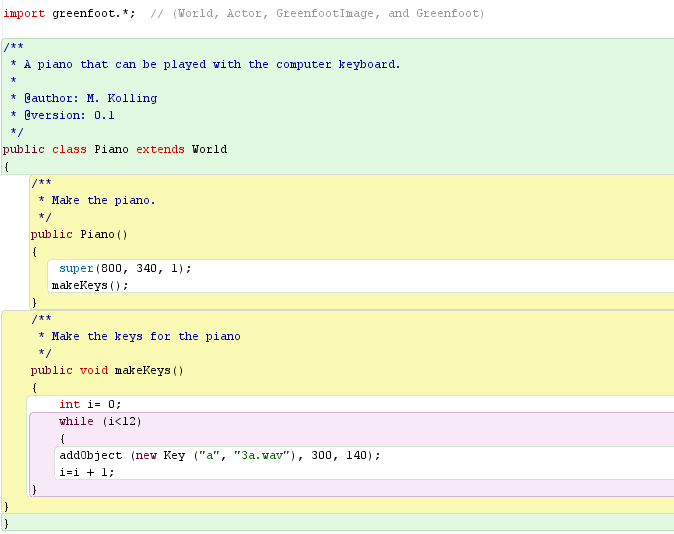
5.14 Do this: Inside the Piano class, make a new method named makeKeys(). Bring the code that makes keys inside this method. Call the method from Piano’s constructor. Don’t forget to have a comment for the new method.
From here, we could just add a bunch of addObject commands to build the keys we need for the piano, but that’s not the best way to do it.
Here’s what your code should look like now:
THROWING YOU FOR A LOOP: LOOPS
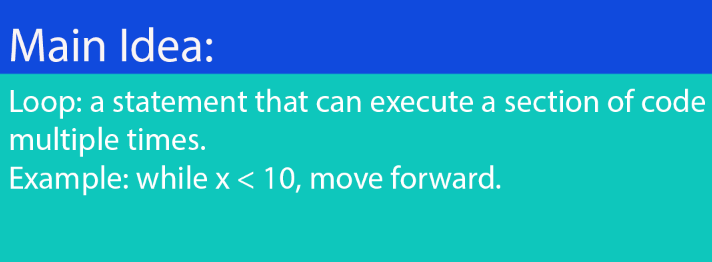
If you are doing a job that is almost the same thing (similar) over and over when you are programming that is a great time to do a loop. A loop is used in programming to do commands like do this 20 times, or call these methods 17 million times very easily and in short commands (concisely) and you won’t have to write 17 million lines of code (phew).
There are several kinds of loops in Java, but the one we will use for this job is a while loop.
While loops all look like this:
while (condition: something)
{
statement(do something);
statement(do something else);
}
So the Java keyword while is followed by a condition in parentheses () and a block the { } that has one or more statements. Those statements will be done over and over as long as the condition is true.
For example, you sort of follow a loop while you are eating a bowl of cereal.
while (bowl has cereal) [that is the condition]
{
Put spoon in bowl.
Scoop out cereal with milk. //these are the statements that are done until
Place spoon in mouth. //the cereal bowl is empty
}
You often run in to a while loop that execute some statements (does something) a certain number of times. To do this you use a loop variable as a counter. Usually you call the loop variable i, so you should do that too. This is a loop that will be done 500 times.
int i = 0;
while (i < 500 )
{
statement;
statement;
……….
i = i +1;
}

We just saw a few new things worth talking about. One is the idea of a local variable. A local variable is kind of like a field, in that you use it to store values. You might store an integer number in it, or object references. It is not like a field in that:
a local variable is always declared inside a method body, not at the beginning of the class;
it has no visibility modifier in front of it (private or public);
it only exists while the current method is running, then it will be erased if the local method was declared at the beginning of a method.*
*(However, it’s more accurate to say it only exists until the execution (the part of the program that is running right now) leaves (exits) the block they were running in. Sometimes a local variable is declared in other blocks like inside if statements and in the body of a loop. }
You declare a local variable by writing the name of the variable and then its name:
int i;
Once you declare the variable, you can assign a value to it.
int i;
i = 0;
In Java, you can make a shortcut to write the two statements in one line, declaring the variable and assigning a value:
int i = 0;
This one line is doing exactly the same thing as the two lines.
Take a look back at the pattern for the loop above again. Now you can see how it works. At the start we use the variable i and initialize it to be 0 (zero). Then the loop’s body is executed and i goes up by one every time. This goes on until i is greater than 500. When i is greater than 500, the loop stops. Execution then continues with the code that comes after the loop body.
There are two more things to pay attention to:
1: the statement i = i + 1; at the end of the loop body and that will increment (makes the variable increase) the loop variable by 1 everytime the loop is executed (gone through). This is really important to do. If you don’t increment the loop counter, then the variable will never change, so the condition is true forever, and that means the loop continues forever. This is known as an infinite loop (kinda like in the End of Dr.Strange*) and is the cause of many errors in programs.

*Actually, the final confrontation at the end of Dr. Strange between Dr. Strange and Dormammu is a loop but it’s not infinite (luckily for Stephen).
While (Dormammu doesn’t surrender Earth and promise never to return)
{
Point A: Walk and talk to Dormammu. Ask him to surrender.
Get killed by him.
Reverse time to point A.
}

2: The condition says the execute the loop while i is less than 500 (< 500), not less than or equal (<=). That means the loop will not be executed when i is equal to 500. Therefore you might think that this loop will be executed 499 times, not 500 times, but don’t forget, we set i to zero at the start, it doesn’t start with 1. In computer programs, we often start counting at zero, (0) because there are a lot of good reasons to do so.
Alright, now we understand loops a bit, let’s use a loop to make all our piano keys. The piano will have 12 white keys. That means we just need a loop that will execute (go for) 12 times. Like this:
int i = 0;
while (i <12)
{
addObject (new Key (“a”, “3a.wav”), 300, 140);
i = i + 1;
}
5.15 DO THIS: Change the code in your own makeKeys method with the loop shown above. Test it. What do you notice?
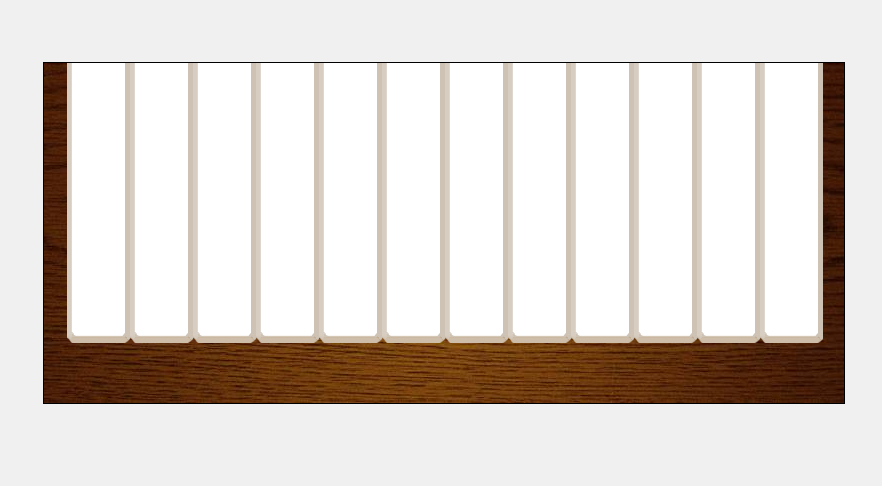
Well, it looks like we only got one key, but really we got 12, it’s just they are in the same spot. That makes it difficult to see them well. If you try moving the keys with the mouse, (you have to hit pause first) you will see that they are all actually there.
5.16: CAN YOU DO IT CHALLENGE? How could you change the code so that the keys don’t all appear in the same place? Can you figure out how to alter (change) the code so all the keys are placed next to each other?
The reason that the keys were all in the same spot: 300,140, is that we just have that fixed location in the code. Now we want to insert (put) each key in a different location. That’s actually pretty easy to do, we can use the loop variable i to do it.
5.17: THINK ABOUT IT How many times does the loop body (go through it’s code) execute and what are the i values during each execution?
So, we will change out the coordinate 300 with an expression that has i as part of it:
addObject ( new Key (“a”, “3a.wav”), i*63, 140);
The symbol asterisk * is the operator (symbol) for multiply in computer code. So why should we choose to multiply the x variable by 63? We know that the key is 63 pixels wide. That means the x values will be 0 * 63 or 0, then 1 * 63 which is 63, then 63 * 2 which is 126, and then 63 *3 which is 189,… the spacing between keys should then be almost perfect. But the problem of x = 0 is there. When an object is placed in Greenfoot it bases that on the center part of an object, so the center of the first key is at the edge of the screen. This is also fixable, we just need to make each key move over a bit. We will use a fixed offset (amount that something moves from a point) so that the keys will appear in the middle of the piano together:
addObject (new Key (“a”, “3a.wav”), i * 63 + 54, 140);
We don’t need to change the y coordinate, because all of the keys should be at the same height.
It should look like this:
5.18 UBER CONFIDENT CODE CHALLENGERS ONLY This is a challenge for you if you are really confident with your coding skills. It’s worth bonus marks only. Skip it if you don’t feel super confident in your skills.
When we use a fixed number in our code, like 140 or 63 in the statement above, it can make the code vulnerable to breaking when some part of the code changes. If we replaced the key images with a nicer image that has a different size, the code would not put them in properly.
A way to avoid using the fixed numbers is using the methods getWidth() and getHeight() of the key’s image. The first thing to do is assign the key object to a local variable of type Key when it is created, and after that use key.getImage().getWidth() in the place of the number 63. You will do a similar thing with height.
To replace the 54 you will need to use the getWidth() method of the piano’s image. If you do this, the code will always place the keys correctly, even if their size changes.
This code will layout the keys nicely. The problem is they all react to the same keyboard key, and they also all play the same note. We will fix this with a new programming construct: an array.
AN ARRAY OF OPTIONS
So we have the 12 keys and they are appear in the right spaces, but they all react to a and play the same note. This is not progress because we had prepared the keys to accept different keyboard keys and sound files in the constructor. The reason that they all react to the same key and play the same sound because they are all made with the same line of source code.
So it makes sense to change the sounds and keys the same way we fixed the x- coordinate, we will use variables for the keyboard key and the soundfile name, then give them different values every time the loop executes.
This is going to be more of a problem than with the x-coordinate because you can’t multiply sound file names or keyboard keys. How can we get those values from?
We will use an array.
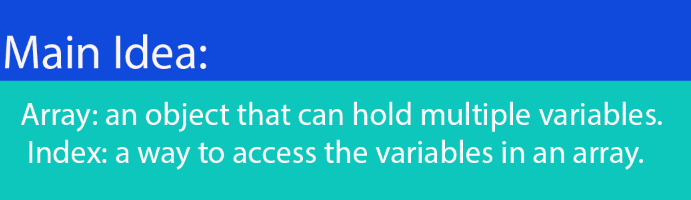
An array is an object that can hold many variables, so it can hold many values. This can be shown in diagram. Let’s say we have a variable named “name” of type string. We will assign the String “Fred”:
String name;
name = “Fred”;
This example is very simple, there is a variable (name) that can hold a value (“Fred”). The value is stored in the variable.
However, in an array we get a separate object, the array, which holds many variables. You can then store a reference to that array object in our own variable.
ARRAY EXAMPLE FOR STRING NAMES GOES HERE
The code in Java to make this looks like this:
String [] names;
name = { “a”, “b”, “c”, “d”, “e”,”f”,”g”,”h”,”i”,”j”,”k”,”l” };
You can see in the variable declaration there is a pair of square brackets [], that shows that the type of variable is an array. The word that is in front of the square brackets tells you the type that each entry (the things that go in the array) should have, this is called the element type of the array. In this case it’s String[], so that means this will be an array of strings. If it said int [] it would be an array of integers.
The next part, the expression { “a”, “b”, “c”, “d”, “e”,”f”,”g”,”h”,”i”,”j”,”k”,”l” } makes the array object and then fills it up with the Strings “a” to “l”. The array object is next assigned to our variable names. You can see from the picture above that when an array object gets assigned to a variable, the variable contains a pointer to that object.
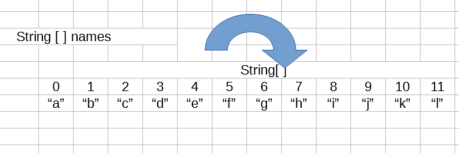
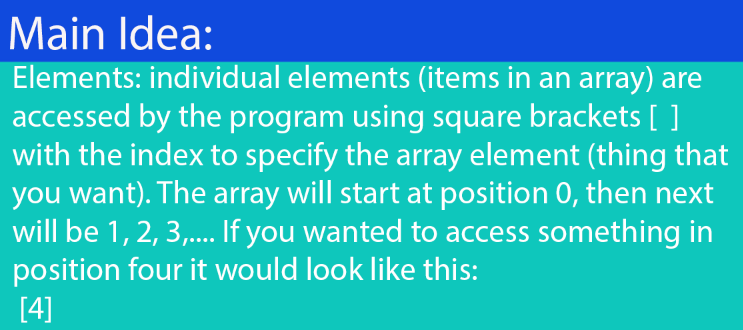
After we have the array variable in place, we can get to (access) individual parts(elements) of the array by using the index. The index is a position number in the array object. That sounds complicated but it’s not. The index is just a number that acts as an address. You can see that the array starts at 0 and that’s where “a” is.
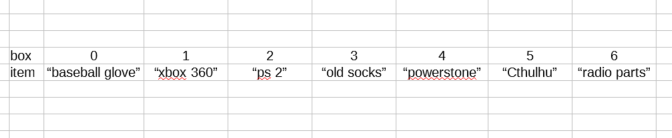
Let’s take a look at an array example from a garage. We will say that you have a very messy garage, with a lot of different things in it. You are going to organize it with an array. Imagine an array as a series of boxes. If you put one object in each box, you can clean up the garage nicely. When you are looking for something, like your baseball glove, you don’t want to look every box until you find it, you want to go straight to the proper box and just get it. You need to label each box. Now if you wrote the name of each item on the outside of each box it would take a lot of time, and if you changed what was in the box you would have to erase and then rewrite the boxes label. Instead, you just number each box, starting with 0 (zero) and then 1, 2, 3…. Then you have a piece of paper, (or better yet a spreadsheet) and beside each number 0, 1, 2,… you write the name of what is in the box. That piece of paper is the index of the array. We will call this array garage.
With Java, you access the array elements by attaching the index in square brackets to the name of the array. For example:
names [3]
would give us the String “d” (in the example above Garage).
garage [2]
would give us “ps2”.
5.19 Questions: What would we get if we had garage [ 4] ? How about garage [5]?
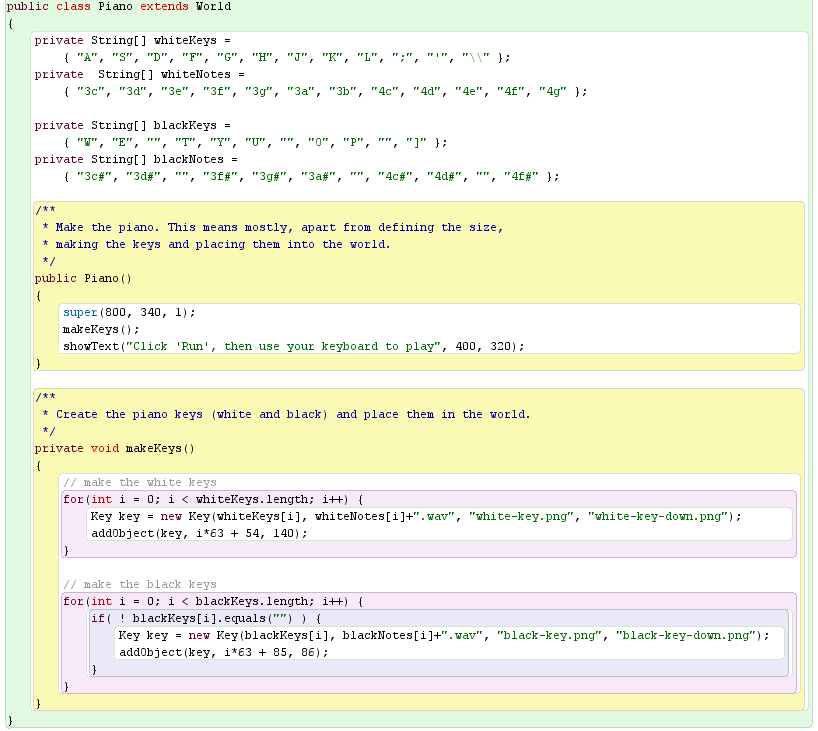
Back to the piano project, we should prepare two arrays. One with the name of the keyboard keys in order for the piano keys, and the other one will be with the names of the sound files that match those piano keys. We then just declare fields in the Piano class for those arrays and store the filled arrays. Check out CODEST CODE CODE.
CODEST CODE CODE
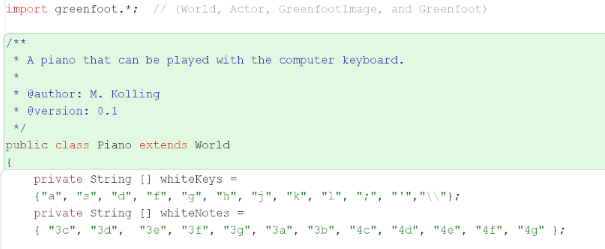
See that the values in the whiteKeys array are the keys in the middle row of a computer keyboard. The other thing to notice is the string “\”. The backslash character (found above enter on the keyboard usually) is called an escape character and has a special meaning in Java Strings. To create a String that has the backslash as a normal character you have to type it twice. So typing the String “\” in Java actually only creates the String “”.
Alright, we have the arrays listing the keys and sound file names that we are going to use for the piano keys. Let’s make a loop in the makeKeys method that will use the array elements to make proper keys. Check out CODE THAT CODES ITSELF (DNA ref)
CODE THAT CODES ITSELF (DNA ref)
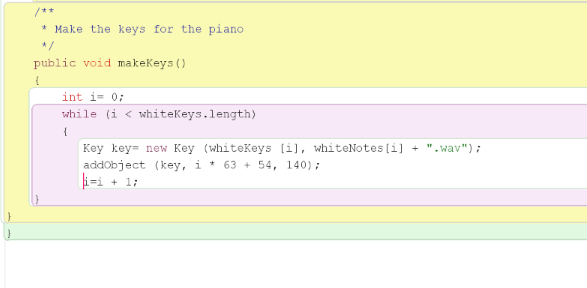
Things to notice:
The creation of new keys has moved out of addObject method call to a separate line and assigned the key object at the start to a local variable called key. We did this just to make it more clear and easy to read.
The parameters for the Key constructor access whiteKeys [i] and whiteNotes [i]. We are using the loop variable i as the array index to get all the different key strings and note file names in order. That is cool, because it will start with both 0 entries, and then go to both 1 entries, then 2 etc.
We used a plus symbol (+) with whiteKeys [i] amd a String (“.wav”). The variable whiteKeys [i] is a String as well. That means we are using the plus symbol with two String operands. When + is used with Strings, it will perform string concatenation. That means it joins the Strings together to make a single String. We did that so that we didn’t have to write “3c.wav” “3d.wav” etc, instead since the ending is all the same .wav, we can use String Concatenation to join them.
The other thing we did was replace the number 12 in the condition of the while loop with whiteKeys.length. The .length attribute will find out how many elements are in an array. In this case, we do have only 12 notes, so we could have just left it at 12. But, by using the .length attribute we can do it more efficiently since it will loop for the number of elements in the array. If later on we had 24 notes or 1000 notes in a array by using the .length the loop would always stop when all the elements of the array were accounted for.
Now the piano should be playable on our keyboard, and different notes should be mapped to different keys.
5.19B Do This: Change your own scenario like you can see above. Test all the keys to make sure that they work.
5.20 Do This: The sounds folder of the piano project has more notes than you can see in this example. Change the keys so the notes are an octave lower. What that means is instead of 3c, use 2c and so on. Take a screenshot of the code!
5.21 Do This: Now you can change the keyboard to play samples (sound files) that you make your self or find from the internet. Screenshot please!
Okay, now we have a piano, except we still don’t. We need to add the black keys. You can do it on your own, now that you know the steps from doing it with the white keys. To help you out though, we will make this happen in a series of steps.
5.22 Do This: We hard coded the Key class to make only white keys. Use abstraction to change the Key class so that it show either white or black keys. Remember that you already did that with the key name and sound name file. Make two fields and two parameters for the two image file names and then use the variables instead of hard-coded file names. Then test it out by making some black and white keys. Screenshot code and result!
5.23 Do This: Modify the Piano class so it will put two black keys at some location in the world. Screenshot code and result.
5.24 Do This: Make two more arrays to the Piano class for the keyboard keys and notes for the black keys. Screenshot code and result.
Hint below
5.25 Do This: Make another loop in the makeKeys method in the Piano class that will create and place the black keys. This is a bit tricker because the black keys are not even spaced like the white keys. They have gaps. Can you think of a way to solve this problem? Pro-tip: Make a special entry in the new array where the gaps are, and use that to recognize the gaps. Check out the note section underneath 5.26 before you start doing this. It’s going to be tough. Do your best! Screenshot code and result.
Hint
Mega hit part 2
5.26 Do this: There is a method to show a line of text on the screen. Think about it, and look at it carefully. Change the wording of the text, change the color, move it so it is centered horizontally. Screenshot code and result.
Here is the method:
public void showMessage()
{
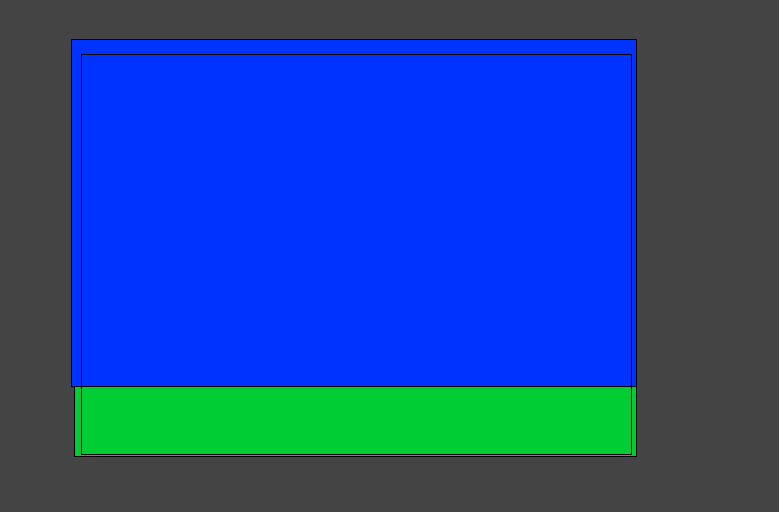
GreenfootImage bg = getBackground();
bg.setColor(Color.WHITE);
bg.drawString(“Click ‘Run’, then use your keyboard to play”, 25, 320);
}
This is where we will stop with the piano. You can play simple tunes and chords( several notes at the same time) with it. Here are some ways you could make it even better: how about adding a second set of sounds and adding a switch on the screen that lets you change from the piano sounds to the new sounds? How about an octave switch that lets you play the lowest octave or the highest?
PROGRAMMING TECHNIQUES THAT WE LEARNED
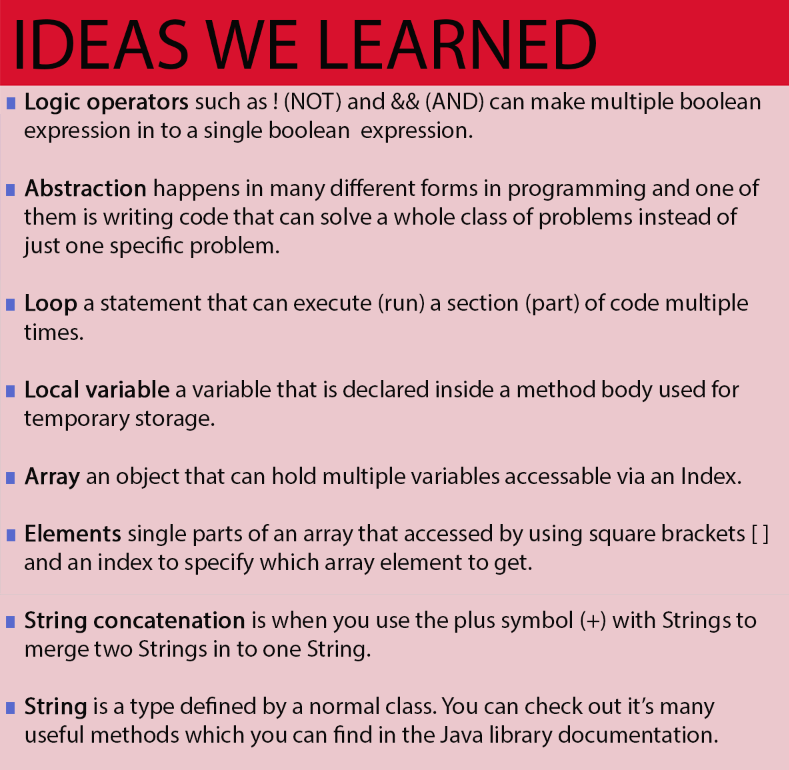
In this unit, we learned two very important techniques: loops and arrays. Loops let us write code that does a sequence of statements many times in a row. We dealt with the while loop, but there are others. Inside the loop, we often use the loop counter to generate different values each time through the loop or to do calculations.
The array can provide many variables of all the same type in one single object. We often use a loop to process an array if we need to do something to each one of its elements. Elements are accessed by using [ ] square brackets.
Abstraction was another thing we used. We used it through constructor parameters to make code that could handle an entire class of problems instead of a single specific problem.
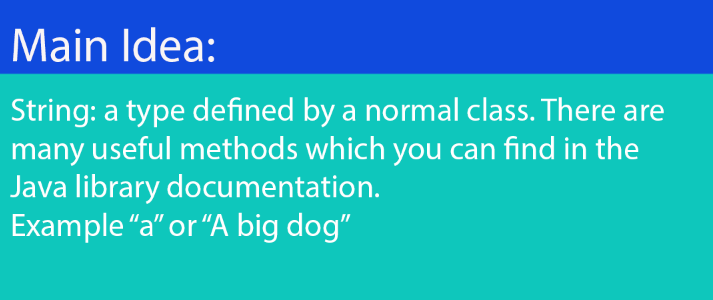
There were also some new operators. We saw the AND && and NOT ! operators for boolean expressions. We also learned that the plus operator (+) can join strings together with string concatenation. You should check out the String class in the Java API documentation to see it’s many useful methods.
| ! |
| && |
| abstraction |
| an infinite loop |
| Array |
| assign a value |
| boolean field |
| declare the variable, |
| Elements |
| initialize |
| local variable |
| logical operators |
| loop |
| String Concatenation |
| While loops |


You must be logged in to post a comment.